Introduction
This document explains how to share your calendar, Change/assign calendar permissions as well as stop sharing your calendar.
Share calendar
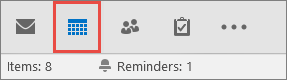
1. Select the Calendar button in the Navigation Bar

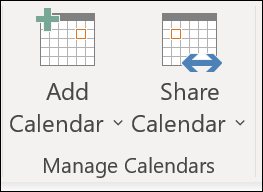
2. From your Calendar folder, on the Home menu, select Share Calendar.
3. Choose the calendar you want to share from the drop-down menu.
4. In the Calendar Properties dialog box, click Add.
5. You can search for people from your address book or type in their email addresses in the Add box. When you're done adding names in the Add Users dialog box, click OK.
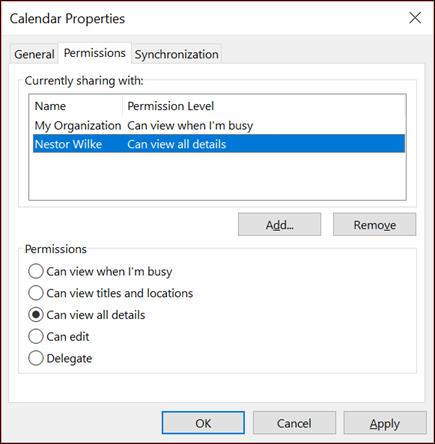
6. Back in the Calendar Properties dialog box, select the person's name or email address, then choose the level of details that you want to share with the person, then click OK.
7. The person you've shared your calendar with will receive a sharing invitation by email.
8. Once the recipient clicks Accept, they'll see your shared calendar in their calendar list.
What permissions people have to your calendar
When you initially share your calendar with people, you're only granting them permission to view the calendar. You can choose what level of detail you want them to view:
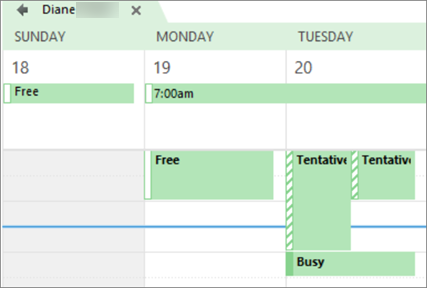
Availability only. They can only see which times you're available, like this:
Limited details. They will see availability and the subject, like this:
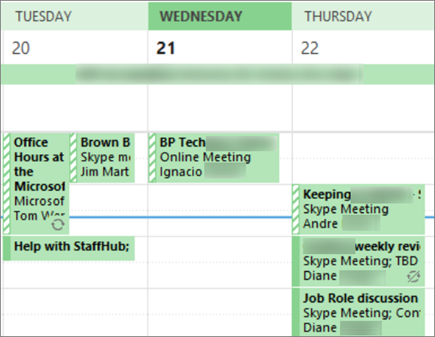
Full details. This will see all details of your appointments, just like what you see.
After you give someone permission to view your calendar, you can increase their permissions so they can do more besides just view it. Here are the permission levels you can assign; see the next section for how to change/assign permission levels.
| With this permission level (or role) | You can |
| Owner | Create, read, modify, and delete all items and files, and create sub folders. As the folder owner, you can change the permission levels that other people have for the folder. (Does not apply to delegates.) |
| Publishing Editor | Create, read, modify, and delete all items and files, and create sub folders. (Does not apply to delegates.) |
| Editor | Create, read, modify, and delete all items and files. |
| Publishing Author | Create and read items and files, create sub folders, and modify and delete items and files that you create. (Does not apply to delegates.) |
| Author | Create and read items and files, and modify and delete items and files that you create. |
| Contributor | Create items and files only. The contents of the folder do not appear. (Does not apply to delegates.) |
| Reviewer | Read items and files only. |
| Custom | Perform activities defined by the folder owner. (Does not apply to delegates.) |
| None | You have no permission. You cannot open the folder. |
You can also create custom permissions by selecting the appropriate check boxes and options under Permissions.
Change/assign permissions after you have shared your calendar with other people
You can change calendar sharing permissions.
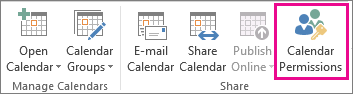
Click Calendar.
Click Home > Calendar Permissions.
On the Permissions tab, make any changes to the calendar sharing permissions.
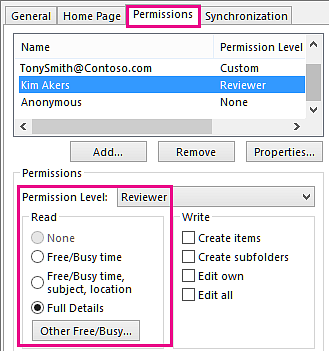
Click OK.
Stop sharing your calendar
At any time you can revoke access to your calendar. Note that it may take a while for Office 365 and the user's Outlook to sync and remove the view to your calendar.
Click Calendar.
Click Home > Calendar Permissions.
On the Permissions tab, click the user's name and then choose Remove.
Click OK.